How to build an indoor crawler course

Living in Wisconsin the winters can get pretty chilly and I elected to take my winter break and learn how to build out an indoor 1/18th and 1/24th crawler course. It’s currently being used a the Madison Mini RC space and it’s turning out to be a really great space for people to have some fun! I’d like to credit Bob M. for suggestions on some materials and tools to use to get the finished product. Without his help it would have taken me MUCH longer.
Suggest some work clothes for this activity as you can get messy. Here is what you will need to get everything set up!
Materials
Misc boxes, cardboard, and other harder foam insulation. Stay clear of softer materials.
~1” Spray foam. Suggest 2 cans per 2’x4’ space.
Plaster Cloth Rolls. Suggest the 6” width rolls. Consistency on the cloth might vary drastically. This one seems to have a softer, shapeable texture.
Sanded tile grout. A 25lbs bag will do roughly 20’x3’ of surface.
A bag of sand
Various fiber board for base. I suggest 2’x4’ or 3’x4’ pieces as this seems to allow enough space to craft a set. 1/4 inch thickness is ideal. Shy away from cardboard. After testing it’s proven to be less stable over time.
Tools
A bucket for plaster cloth application. Wider mop bucket is perfect and allows you to dip the cloth in with both hands.
A smaller painter bucket for grout application.
A few smaller “cup” buckets to transfer sand, water
A 2” staining paint brush. This helps transfer the sand, and thick mix.
Utility knife
A good hot glue gun. If you don’t want to deal with cables, consider a battery based unit.
Pair of scissors
Handful of rags
Drop cloth for helping protect the ground/carpet
A good work bunch.
Mixing stick for grout
Process
Each phase will take an hour to 90 mins depending on size but each will need sufficient time to dry and set.
Structure Phase


Using your boxes and larger form pieces, stage out the flow. Glue them down to the board using the hot glue gun. This should dry quickly, allowing you to jump to step 2 quickly.
Using the spray foam, fill in areas and further build out obstacles. If height is the goal, consider allowing base levels of foam to dry, then add more. The weight of large volumes of foam will drop. This foam should dry overnight before steps 3, 4, and 5.
Plaster Phase


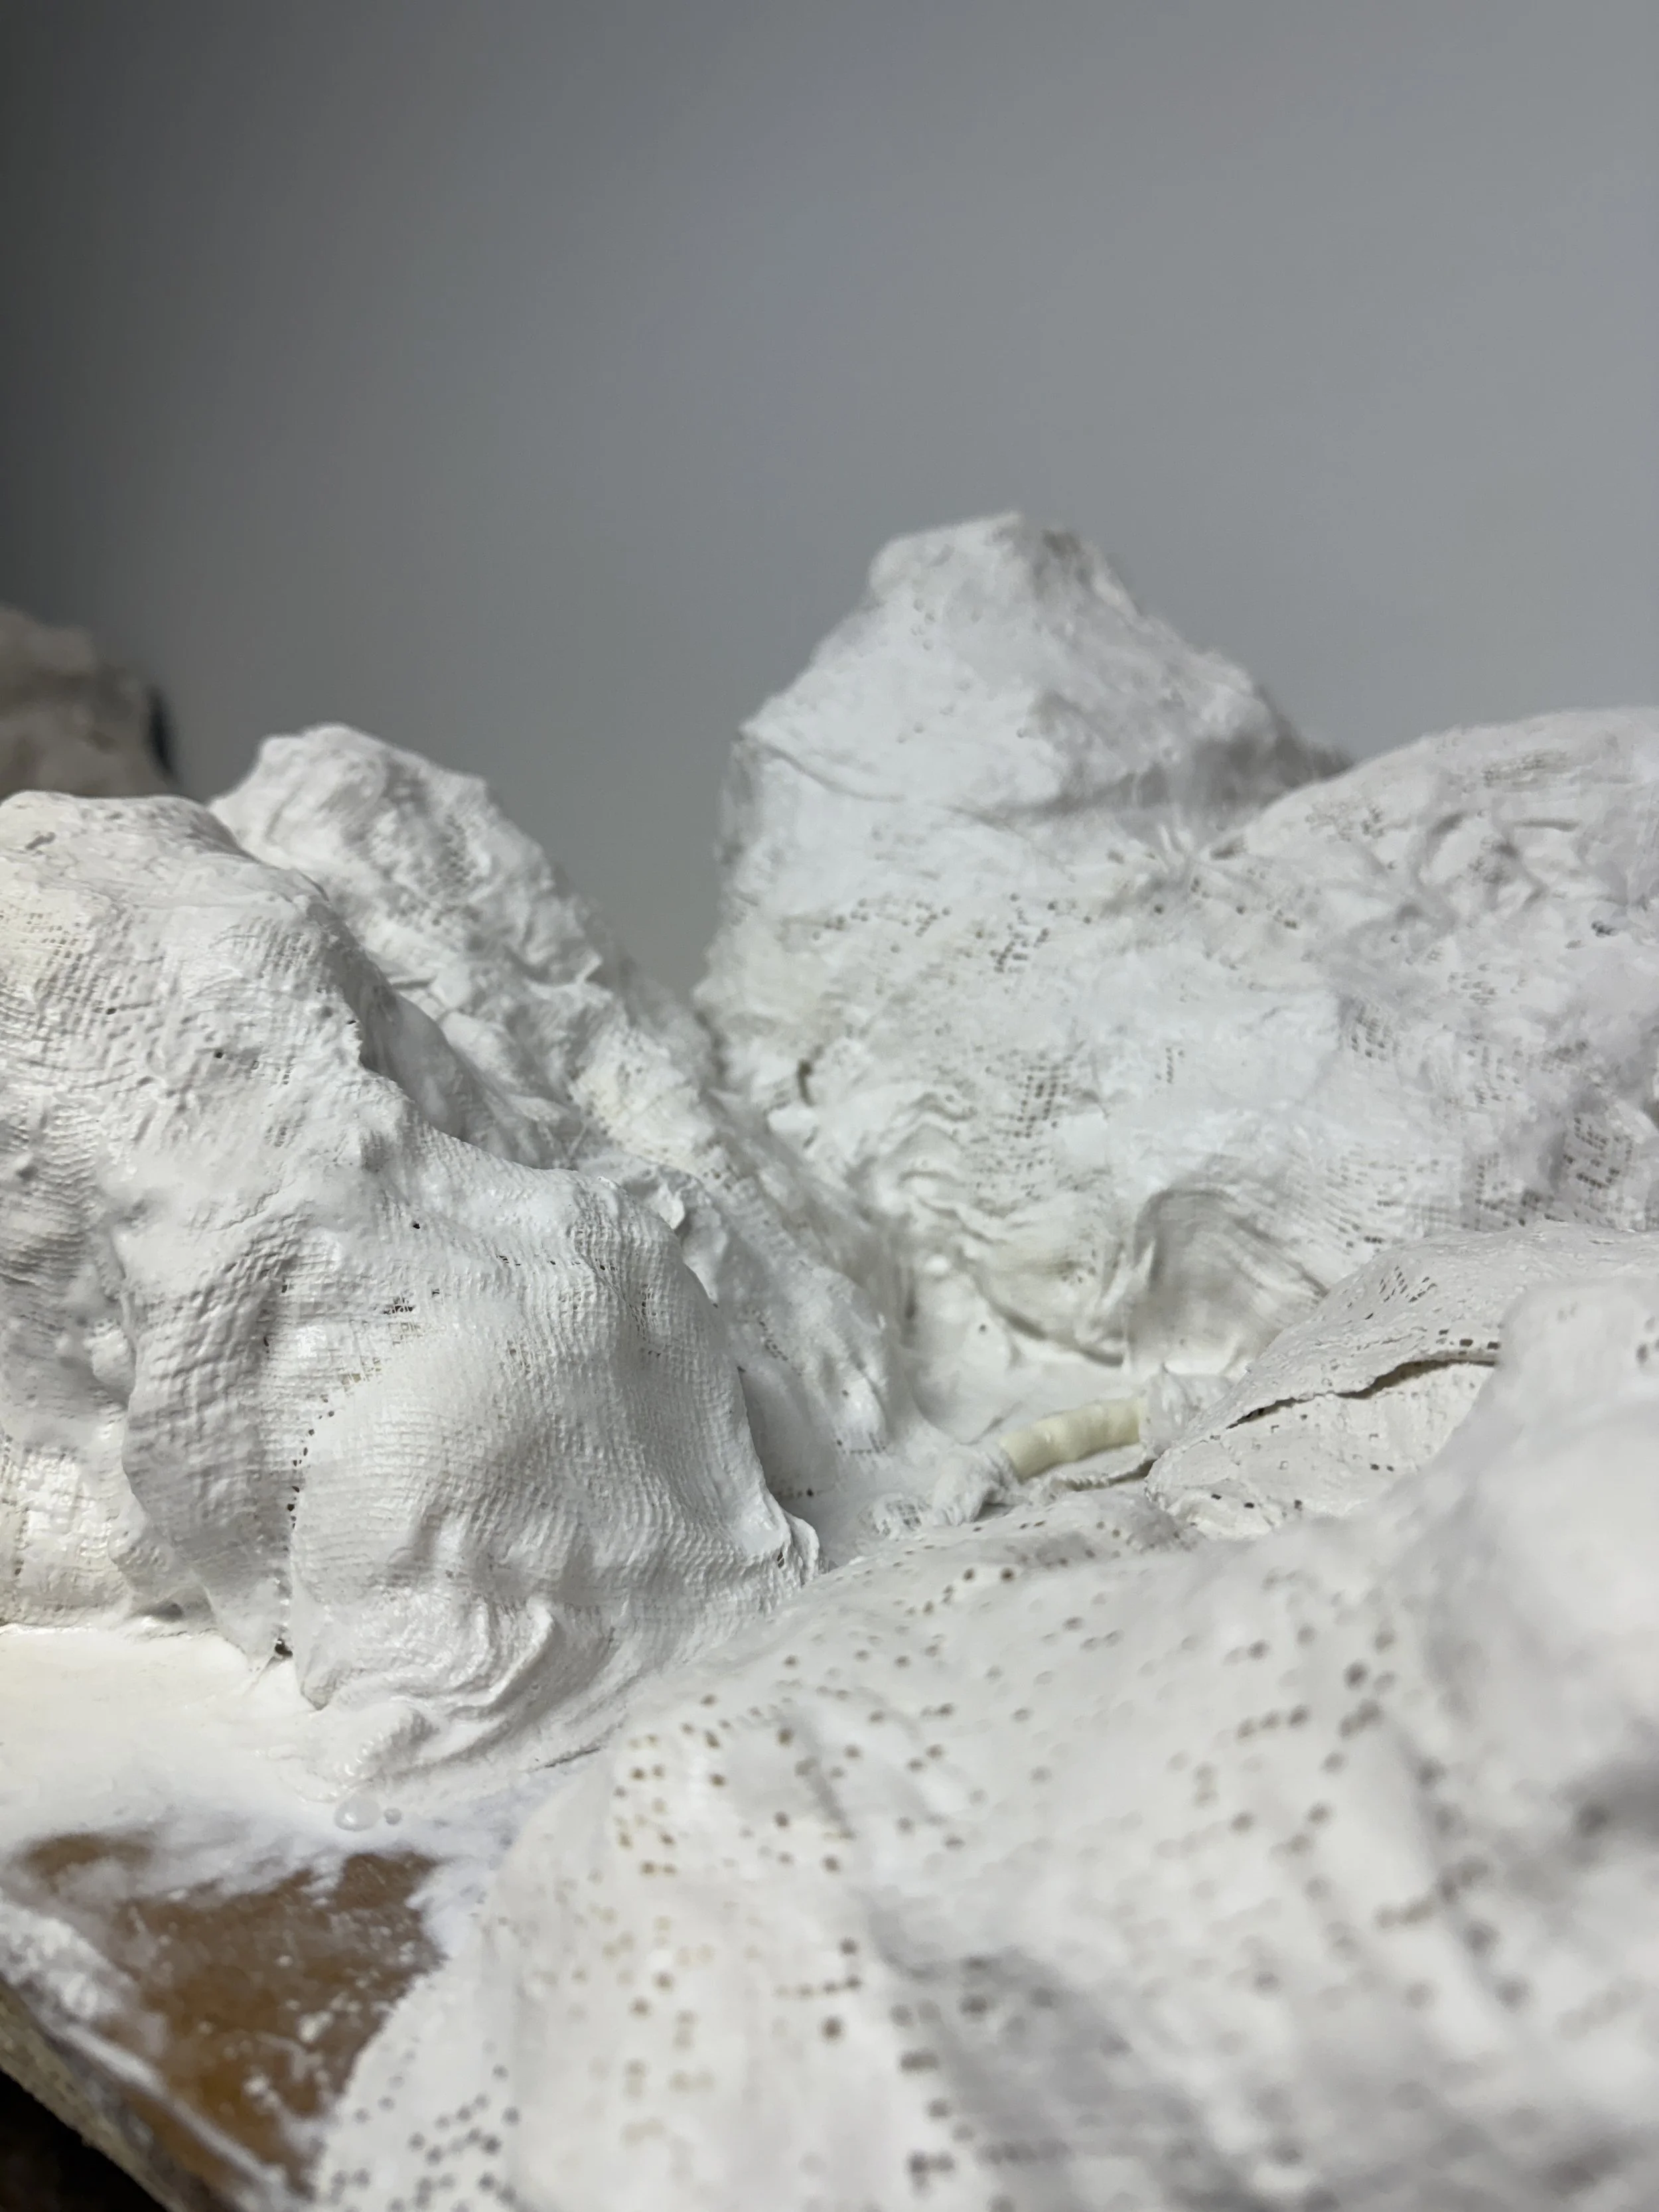
Pre-cut the plaster cloth into roughly 7” to 8” sheets. A 2’x4’ set will take 3 to 4 rolls. I typically use a small piece of cardboard under the sheets to collect the plaster dust.
Once ready, take a sheet and dip it into the water, quickly set it on the area, and use your fingers to tuck and stretch over the foam and boxes. This is a very hands-on task, don’t be afraid to get dirty and repeat over and over to cover the area.
As the plaster is drying, go back and make sure seams are connected and everything is formed well around the foam. Waiting too long makes it harder. The plaster will need a full night to dry before moving on to step 6.
Grout Phase


Prep the grout mix and water it in a medium-sized painter bucket. The mix should feel like a thick “pea soup,” and you can’t go too thick. Mix in additional sand and mix well with a stir stick.
Using the staining paintbrush, apply it to the set starting from the top and moving down. The goal is to not see any white, so apply heavily. This will be a messy process.
As you apply, pinch a bit of sand in your fingers and “drizzle” it on areas of the obstacles where you want even more grip. As the grout dries, the sand/small stones will dry on the surface.
As you finish, review the set looking for thinner or missed spots and apply a second coat. As you near the end of the bucket, the mix will get VERY thick, so this is a great time to fill various areas with even more sand/grout mix. Depending on the thickness, the grout will take a solid 24 to 36 hours to fully dry, but some areas will dry in 12 to 18 hours.